Training
Throw Power training explained: pull-up stands, rep efficiency and when training beats buying a more expensive food in Throw Food For Animals.
Introduction
Training is the distance half of Throw Food For Animals: pull-up stands scattered around the map raise Throw Power, the stat that decides how far your food flies and therefore which areas you can reach at all. This category explains where the stands actually sit, how each training rep builds power, how to keep your animal income ticking while you grind, and the efficient rhythm that prevents training from stalling your food budget or your wider economy. Whether you grind every rep or train just enough to hit the next zone, the guidance below is built around one truth: in this game, the pull-up stand is where distance is made, and distance is what unlocks everything else.
Training & Upgrade Paths
| Path | What It Does | Best When |
|---|---|---|
| Pull-up Stand Training | Raises Throw Power, the distance stat. | Throw distance is the blocker. |
| Food Upgrades | Raises rarity odds per throw. | Rare animals are the goal. |
| Distance Pushes | Progress to the next unlocked zone. | Income plateaus on current animals. |
| Group Perks | Community-reported membership bonuses (unconfirmed official). | Optional free extras while you play. |
Training Path Cards
Pull-up Stand Training
The distance stat that gates every single unlock in the game.
Food Upgrades
The rarity dial that upgrades your collection odds while sharing your budget with training.
Distance Pushes
Targeted training sessions aimed squarely at the next zone requirement on the distance ladder.
Group Perks
Community-reported free extras you may receive while playing, still unconfirmed officially as of this snapshot.
Core Mechanics
Each pull-up stand rep adds a chunk of Throw Power, and higher power means farther throws — there is no other way to extend distance in this game. Because the entire map is gated by distance, training is the tool that truly advances progression: food makes your collection rarer, but only Throw Power opens new areas. The efficient player rotates food upgrades and training so that budget and distance grow together, rather than letting one axis stall while the other runs ahead and leaves the map half-explored. Once you see that trade clearly, the old question of train or buy food stops being a coin flip and becomes a simple read of your current bottleneck.
Advantages
The training category gives you the efficiency math behind the grind: when a rep is actually worth its cost, when a food upgrade beats another training block, and how to keep income flowing while you stand at the pull-up bars. Knowing that distance gates every unlock turns the stands from a background minigame into your main progression lever, so the time you spend training always has a direct, visible payoff in the form of new zones and the stronger animals that live inside them. Put simply, this category turns standing at a bar into a plan: you always know how many reps you need next, why those reps matter, and what the reward will be when they land.
Challenges
The developer has not published Throw Power curves, rep costs or exact training numbers, so every efficiency comparison in this category stays qualitative rather than precise. Group perks are community-reported and have not been officially confirmed by the studio. Since updates can rebalance rep costs or power gains at any time, older training guides — including parts of this page — may drift from the current meta, so treat the specific ratios here as guidance rather than gospel. The honest version of this page trades full precision for trust: the ratios are reliable directions, not precise formulas, and they will serve you better than any made-up number from a random list.
Frequently Asked Questions
How do I get more Throw Power?+
Should I train or buy food?+
Is there a max Throw Power?+
Quick Tips
Treat pull-up stands like an appointment, not an afterthought. Every area unlock is a distance gate, so training is the difference between progressing and stalling — schedule a few reps between every throw session. The smart players in community videos do not grind stands for hours; they bolt a short training block onto each gameplay loop, probe-throw toward the next zone, and only commit to a longer session when the probe shows they are close.
Let your animals earn while you train — this is the idle trick that makes training efficient. Collection should happen before long training sessions so every rep is paid for by passive income, and the money that ticks in during your grind can fund the food upgrade you will want the moment distance stops being the blocker. Players who train first and collect after leave income on the table for no reason.
Use the bottleneck rule to settle the training versus food argument once and for all. Throws falling short? Train, because only Throw Power extends distance. Throws reaching the zone but nothing rare reacts? Buy food, because only food shifts rarity odds. If both problems exist, fix the distance one first — a rare catch in a zone you can barely reach still leaves you stuck at the next gate, while longer throws everywhere else also make every future food purchase more valuable.
Keep training targets qualitative — the developer has not published power curves or rep costs, so nobody can tell you the exact reps to hit zone three. Compare how your throw feels against the next zone's edge after each training block instead of chasing numbers from other sites. And treat 'max strength' as community shorthand, not an official cap: the real goal is always the next reachable area, and the power required grows with every bracket you unlock.
Featured
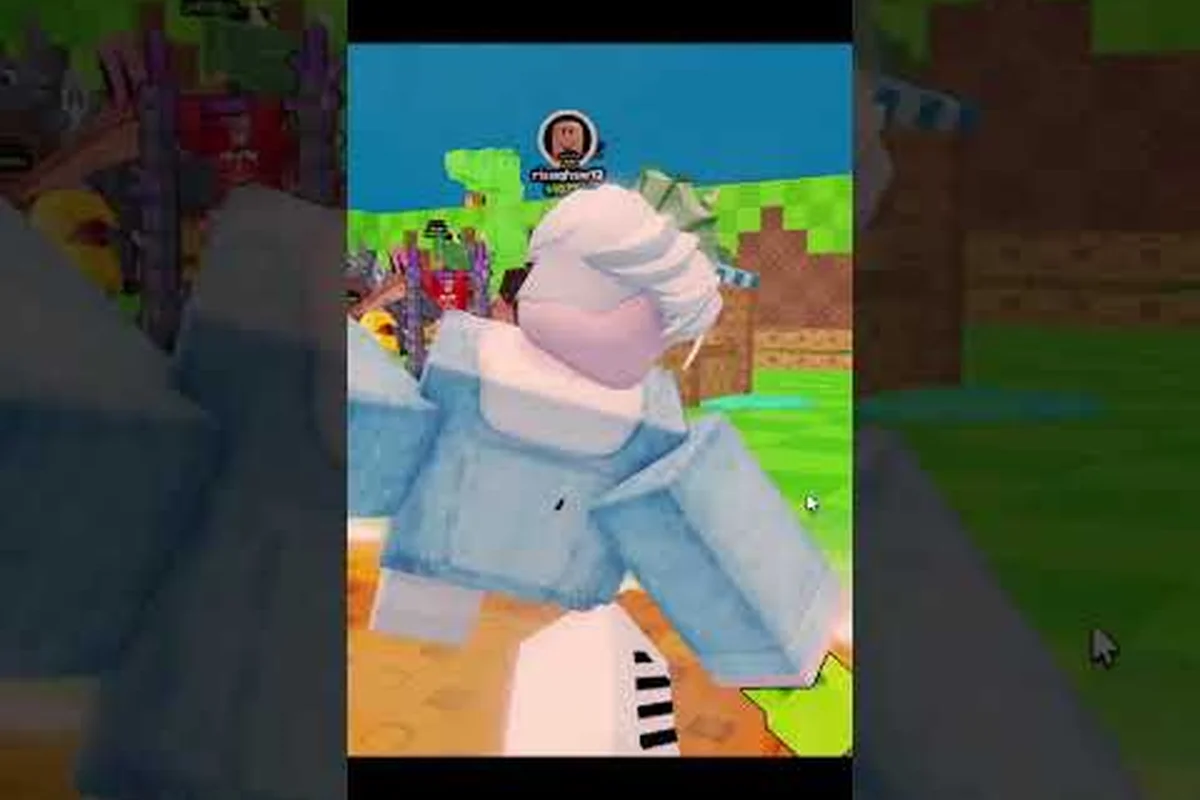
Throw Food For Animals Where Are Pull Up Stands Located
Find where the pull-up stands are, learn how each station improves strength and throw power, and choose the best training setup.
Throw Food For Animals AFK Train: Setup, Timing, and Max Power
Set up Throw Food For Animals afk train sessions, estimate training duration, and learn how pull-up stands raise strength toward the maximum throw power cap.
Throw Food For Animals Best Training Method Compared
Compare throw food for animals best training method options, including pull-up stands, power farming, and how training differs from buying food.
All Articles
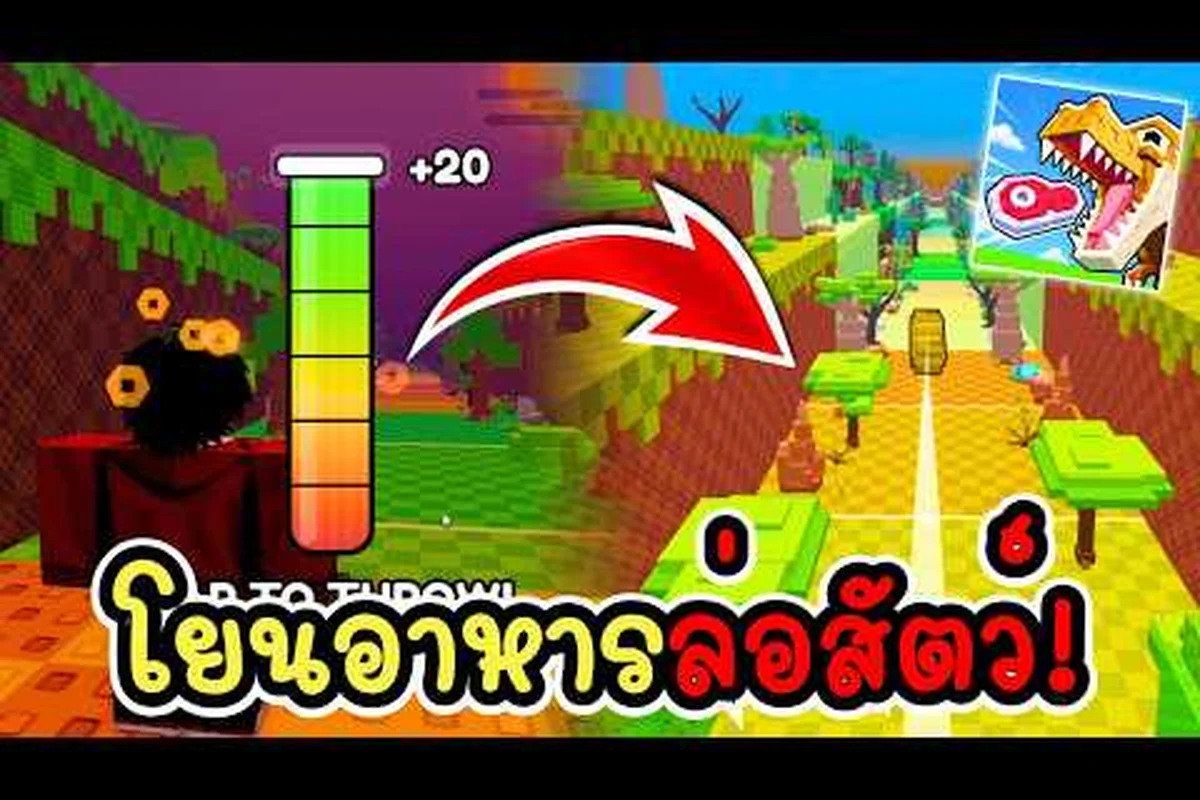
Throw Food For Animals Strength Guide: Power Up Faster
Follow this throw food for animals strength guide to compare training and upgrades, improve power levels, and farm strength efficiently.
Throw Food For Animals Throw Distance: Technique Tips
Improve Throw Food For Animals throw distance with practical aiming, angle, timing, and pull-up training techniques for longer reaches.
Throw Food For Animals Throw Power: Stats, Training, and Limits
Learn how Throw Food For Animals throw power affects distance, which training methods improve it, and how to approach the game's stat limits.
Throw Food For Animals Train or Buy Food: Better Choice
Decide whether to train or buy food in Throw Food For Animals by comparing power requirements, range, area access, cost, and efficiency.