Food
Throw Food For Animals food guide: every food tier from Starting Food to Sandwich, Doughnut and premium bait, plus when to upgrade for better rarity odds.
Introduction
Food is the rarity lever in Throw Food For Animals: the tier you throw decides which animals react at your landing spot, while Throw Power handles distance completely separately. This category walks through every food step — from the free Starting Food you begin with, through the Sandwich and Doughnut visible in official media, up to the higher tiers whose exact names are not published — explains what each one unlocks at each stage of the game, and clarifies when upgrading actually changes your odds rather than just draining your budget. By the end of the page you should be able to answer the one question that matters — when do I upgrade my food? — and walk into the shop with a plan instead of a feeling.
Food Tiers & What They Attract
| Food | How to Unlock | What It Attracts |
|---|---|---|
| Starting Food | Free at spawn and unlimited. | Starter and common animals. |
| Sandwich | Early shop purchase, visible in official screenshots. | Uncommon animal odds at the same landing spot. |
| Doughnut | Mid-game shop tier; pink-frosted in official media. | Rarer animals with better odds. |
| Higher-Tier Foods | Each upgrade lines up with income milestones; exact names are not published. | Strongest odds toward legendary hunts (community-reported). |
Food Tier Cards
Starting Food
The free, unlimited tier you begin with before any shop or upgrade exists.
Sandwich
The first shop unlock that visibly shifts rarity odds at your landing spot.
Doughnut
A mid-game tier, pink-frosted in official media, with clearly better odds.
Higher-Tier Foods
Endgame bait with the strongest odds, whose names are not officially published.
Core Mechanics
Every throw carries exactly one food tier, and that tier is the single biggest factor in which animals react when the throw lands. Upgrading food shifts the rarity roll upward without adding a single meter of distance — you stay at the same spot and simply roll better at it. Because food upgrades and Throw Power training compete for the same cash pool, buying food only makes sense when rarity is the blocker: if the problem is that your throws fall short of the next zone, no food tier will help and the budget belongs at the pull-up stands instead.
Advantages
The food category makes the spending decision concrete instead of leaving it to guesswork. It tells you exactly when each tier starts paying off, separates the verified media evidence — Starting Food, Sandwich and Doughnut with the official spelling — from unpublished higher tiers, and explains why the same landing spot rolls differently as you upgrade. That turns a vague sense of better luck into a mechanical rule you can budget around, which is exactly what new players need when food quality competes with Throw Power for the same cash. Armed with that rule, you stop guessing and start timing every shop visit, which is the difference between a stalled economy and a compounding one.
Challenges
The developer has not published the full food list or exact odds, so higher tiers can only be described with community-reported expectations and their exact names remain unknown. The unlock hints in this category stay deliberately descriptive because exact shop prices and placement in the store are not published anywhere reliable. Income milestones also shift between updates, which means the moment each tier becomes affordable can change after every patch, so the tier descriptions should be re-checked as the game evolves. For planning purposes that means you can verify the early tiers with confidence and keep an open mind about everything above them, always leaving room in your budget for the axes that food cannot fix.
Frequently Asked Questions
When should I upgrade my food?+
Does food affect how far I can throw?+
Is Doughnut really a food tier?+
Quick Tips
Think of food as your rarity dial and Throw Power as your reach dial — they never replace each other. When you catch everything common at the same landing spot, upgrading food is the correct move because it changes the roll at that spot. When you cannot reach the next zone at all, no food tier will help because the distance stat is what misses. Asking 'is this a rarity problem or a distance problem?' before every upgrade is the single best budgeting habit in this game.
Do not buy the most expensive food you can barely afford. Higher tiers are supposed to line up with income milestones, and buying them too early stalls your cash flow for an upgrade that cannot pay for itself yet. Buy one tier above your income comfort, watch whether uncommon and rare reactions start appearing, and only jump again once that tier feels cheap relative to your per-second income.
Remember that food names like Doughnut are confirmed from official media, but higher-tier names are not published — so treat anyone quoting exact late-game food names as speculating. When our guides say higher-tier foods line up with income milestones, that is the observable pattern, not an official table. Plan your food budget around the tiers you can verify and keep some cash free for Throw Power training, or you will reach a zone where your rarity dial is perfect but your reach dial is empty.
Use the economy loop to time your food purchases: income upgrades first, then food, and only then training when distance is the wall. This order keeps rarity and reach growing in balance instead of letting one axis go stale. Players who skip food entirely to train early find their throws land far, but nothing rare reacts to their food; players who only buy food can hit the next zone but catch nothing new there. Both patterns feel like progress and both stall — balance is the fix.
Featured
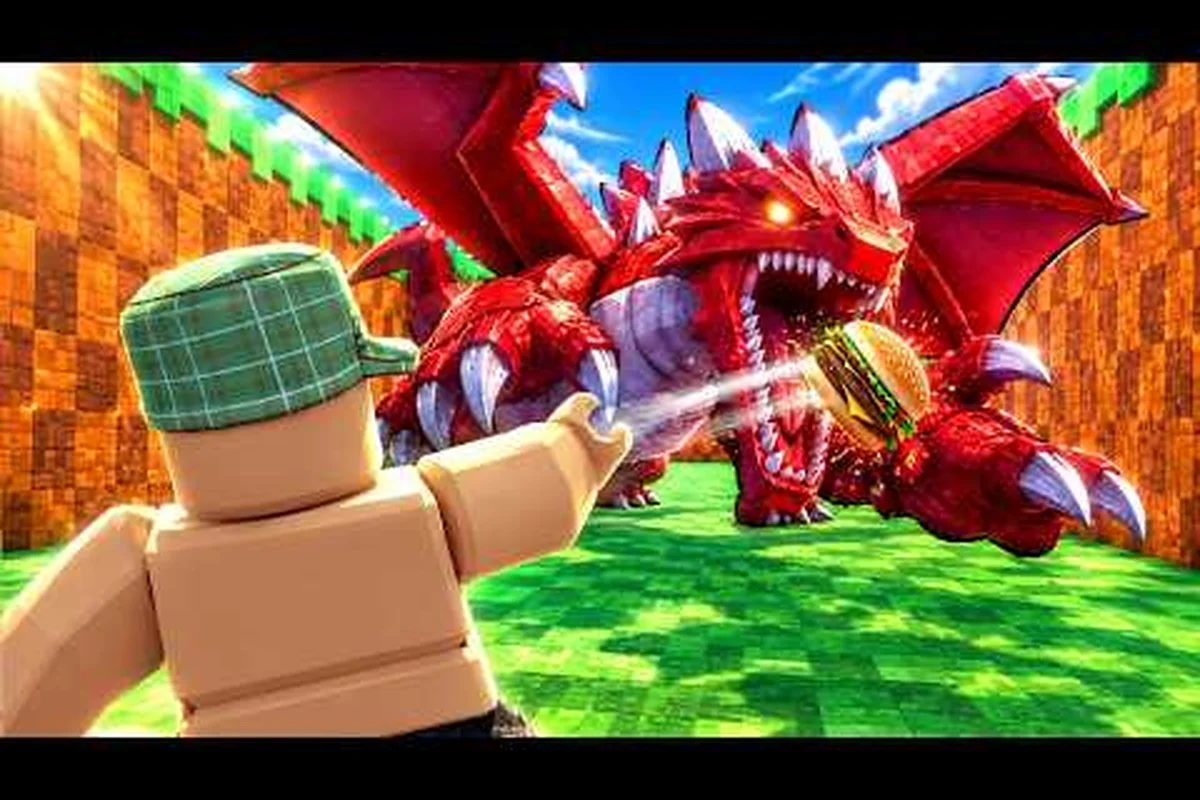
Throw Food For Animals Cheapest Food: Best Value Picks
Find Throw Food For Animals cheapest food options and compare cost, rarity, and attraction power to lure creatures without overspending.
Throw Food For Animals Food Choices: Every Throwable Explained
Explore Throw Food For Animals food choices, including snack types, unlock methods, attraction mechanics, and which options work best for specific animals.
Throw Food For Animals Food List: Every Food and Unlock
Explore Throw Food For Animals food list options, including raw bones, organ meats, starting choices, and the best foods for your collection.
All Articles
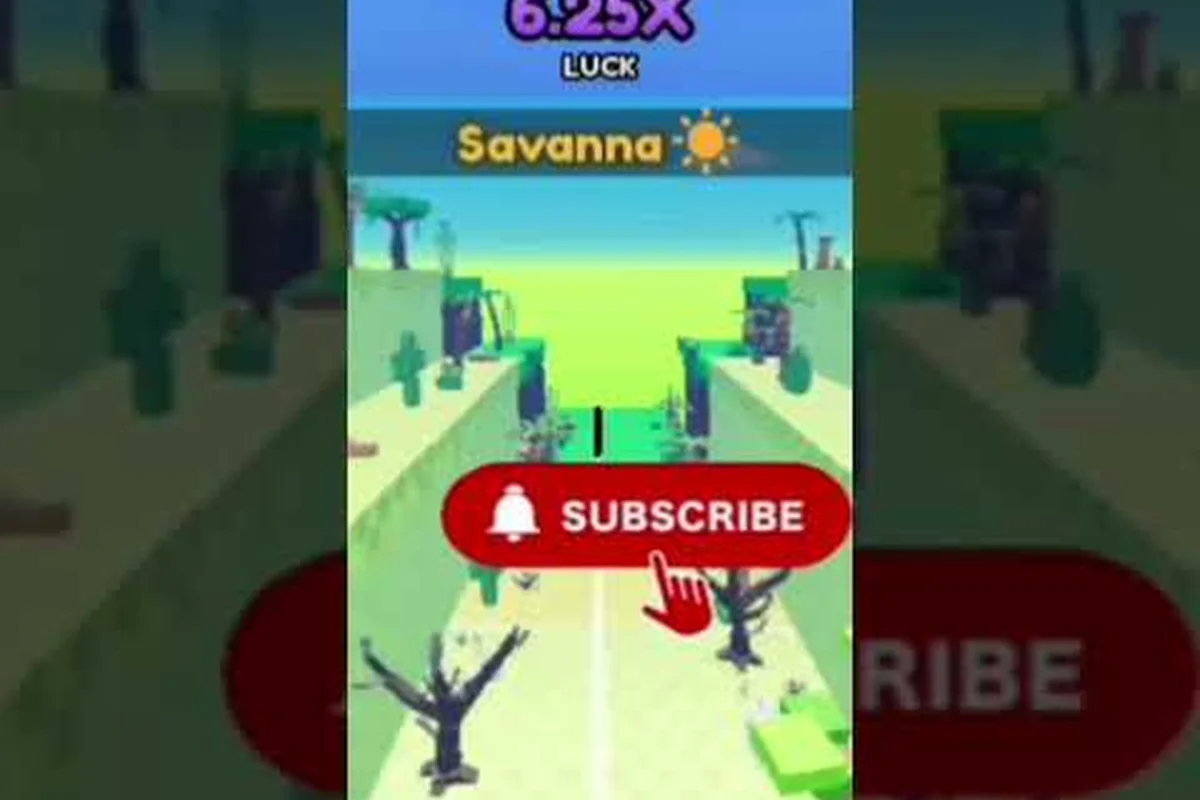
Throw Food For Animals Food Tier List: Value and Power Compared
Rank Throw Food For Animals food tier list choices by attraction, cost efficiency, throw power, and upgrade timing to find the strongest food for every stage.

Throw Food For Animals Food Upgrade Order for Maximum Pull
Plan Throw Food For Animals food upgrade order around sandwich, donut, and other food types to improve attraction without wasting money on the wrong purchases.
Throw Food For Animals Food Upgrades: Costs, Prices, and Benefits
Compare Throw Food For Animals food upgrades, shop prices, and attract power to choose effective upgrades for your animal-hunting strategy.
Throw Food For Animals What Food to Use for Every Stage
Learn which throw food for animals what food to use choices fit early, mid, and late game, with practical tips for unlocking options and maximizing attraction.